Pioneer of modern architecture Ludwig Mies Van der Rohe said that “each material has its specific characteristics which we must understand if we want to use it. This is no less true of steel and concrete.”
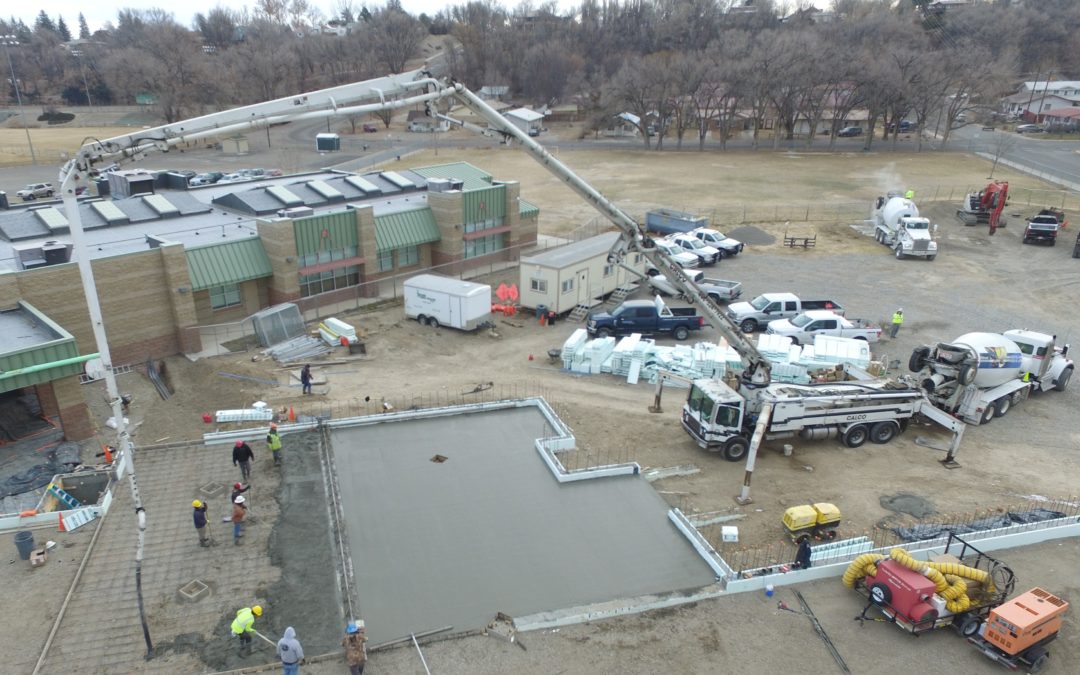
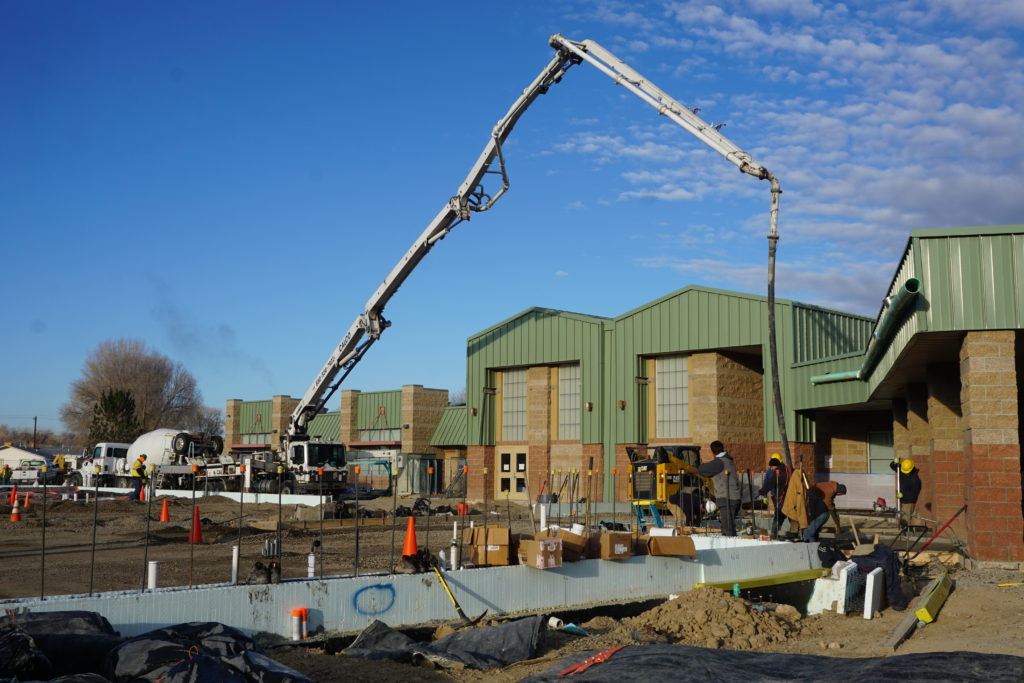
This week, KGCI subcontractor Bernhardt Construction, Inc. poured two more concrete slabs for the Delta Middle School addition project. That’s 60 yards of concrete last week, 30 yards earlier this week, and 44 yards today. Accordingly, it’s fitting to describe a few of those “specific characteristics” of concrete Mies referred to, particularly the process of pouring slabs.
STEP 1: Prepare the subbase, or the ground on which the concrete will be poured.
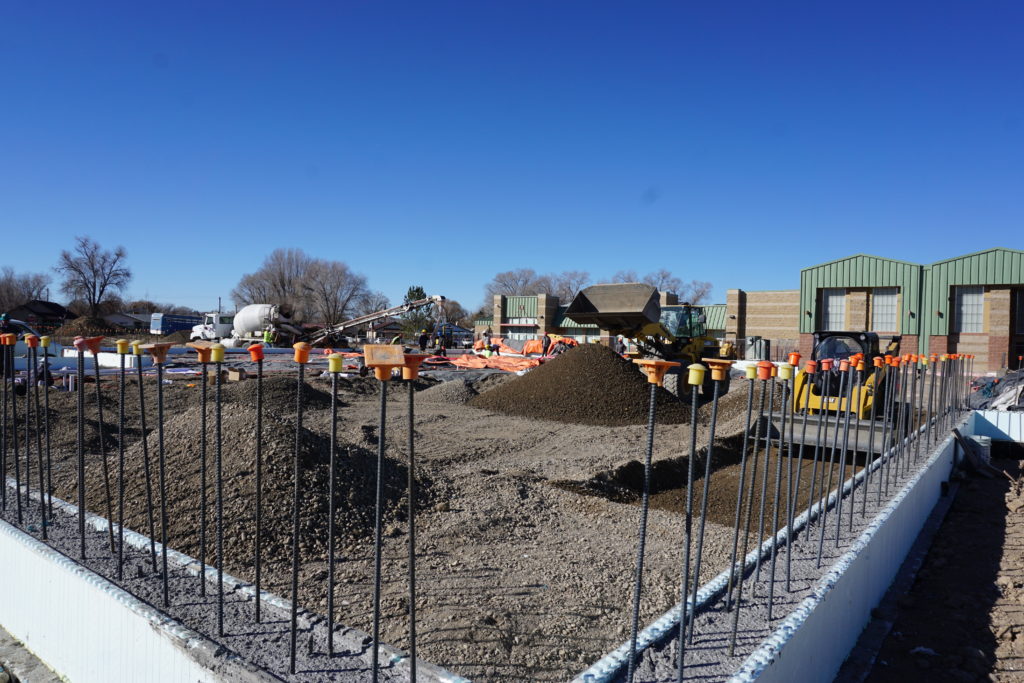
Step 2: Set up a wood perimeter, or form, in which to pour the concrete.

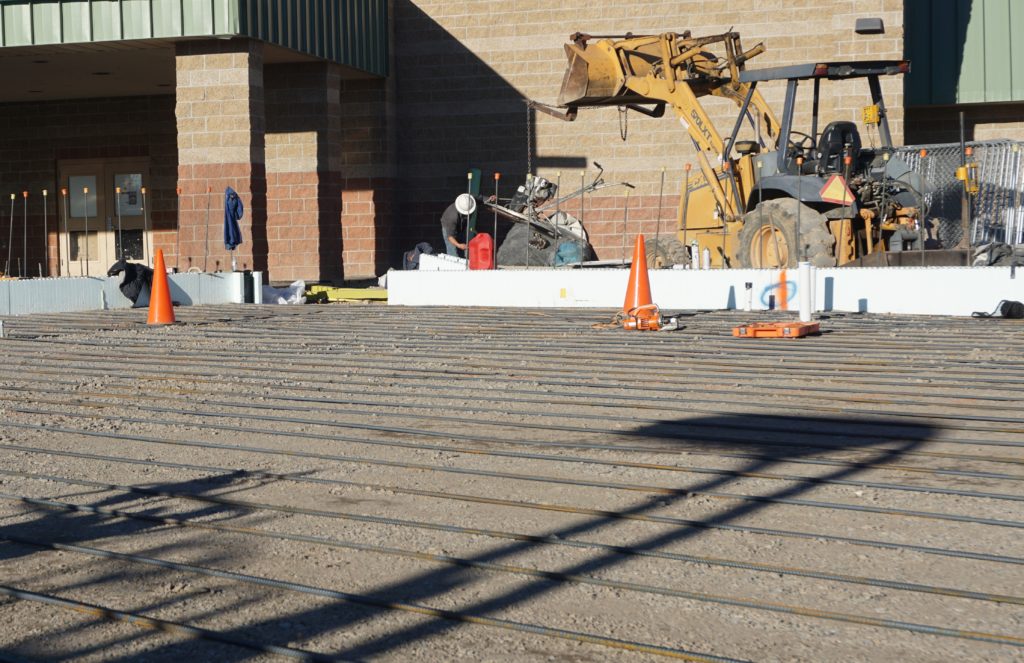
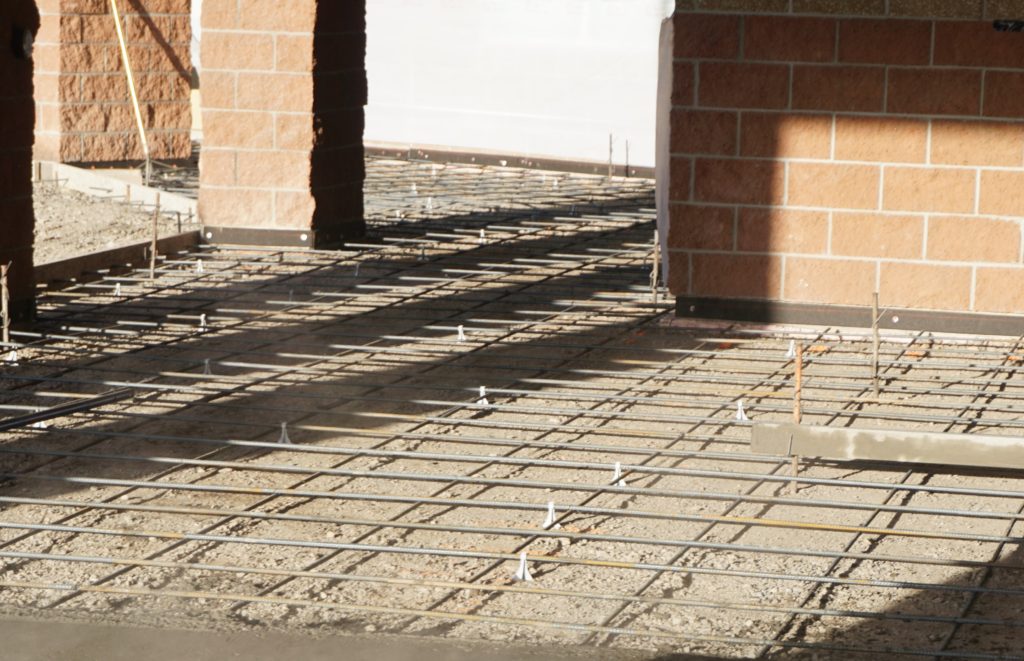
Step 3: Tie rebar mat for concrete slab.
Step 4: Pour the concrete.
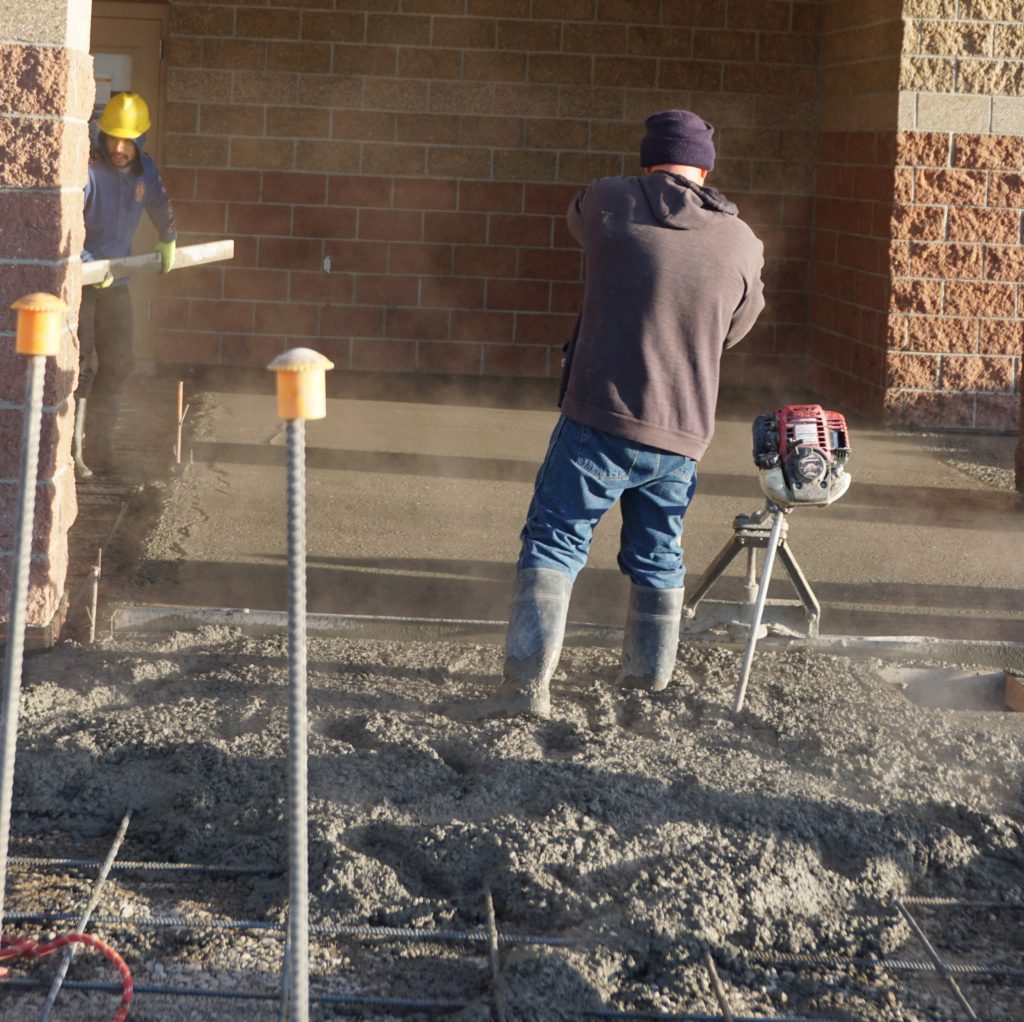
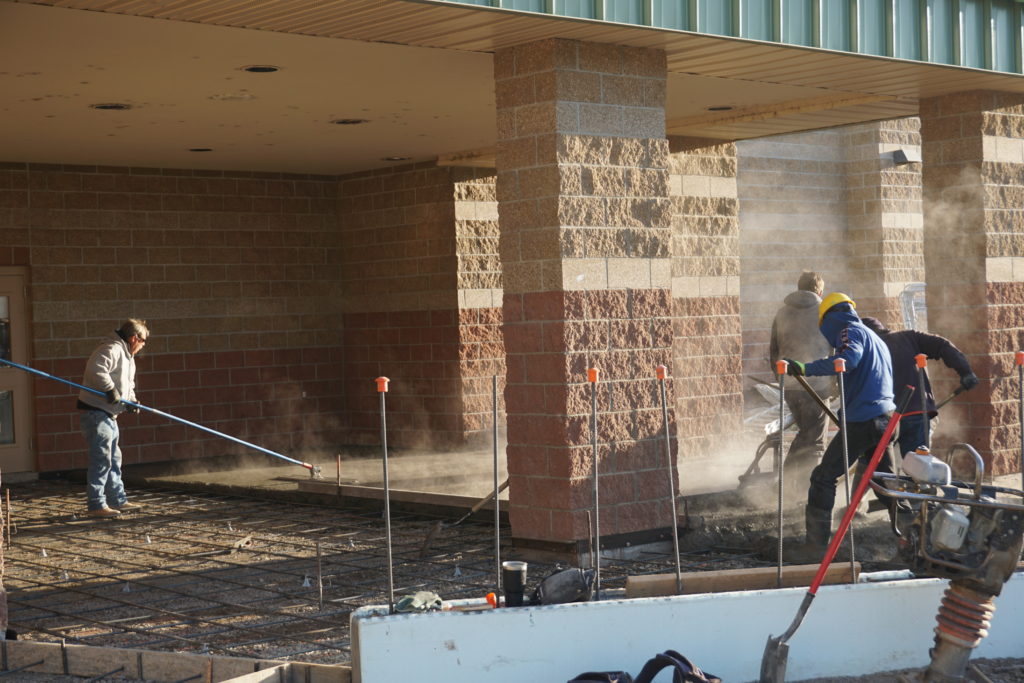
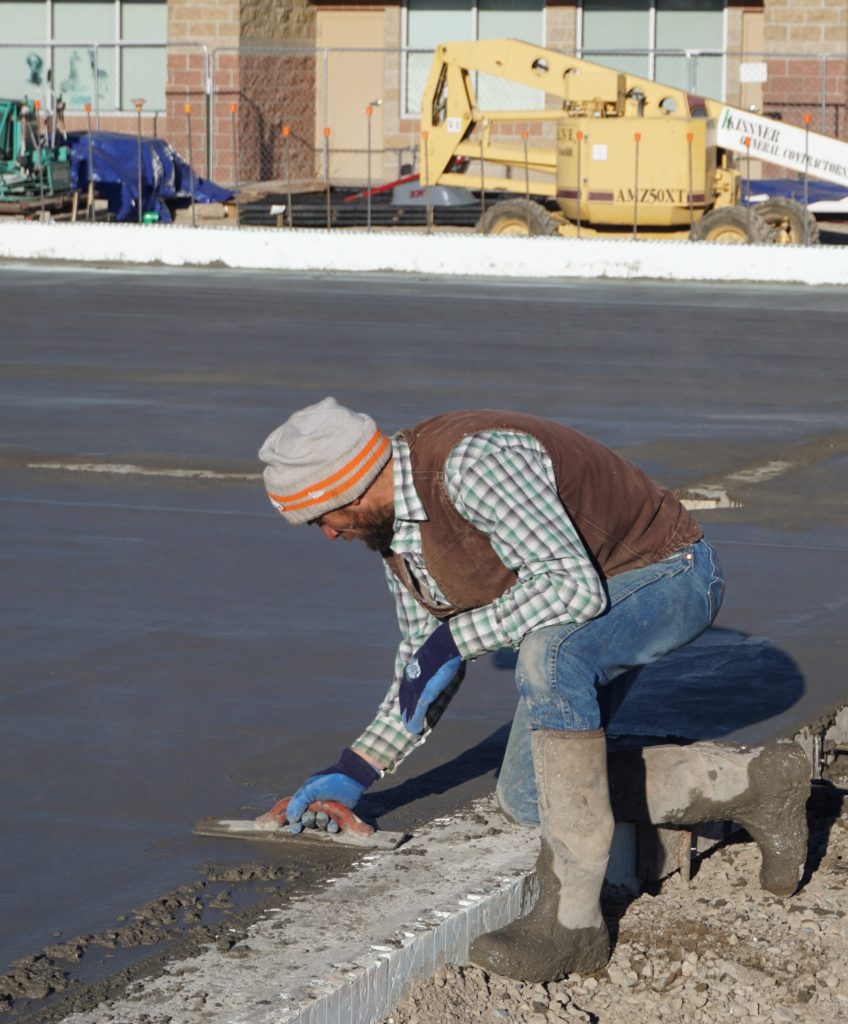
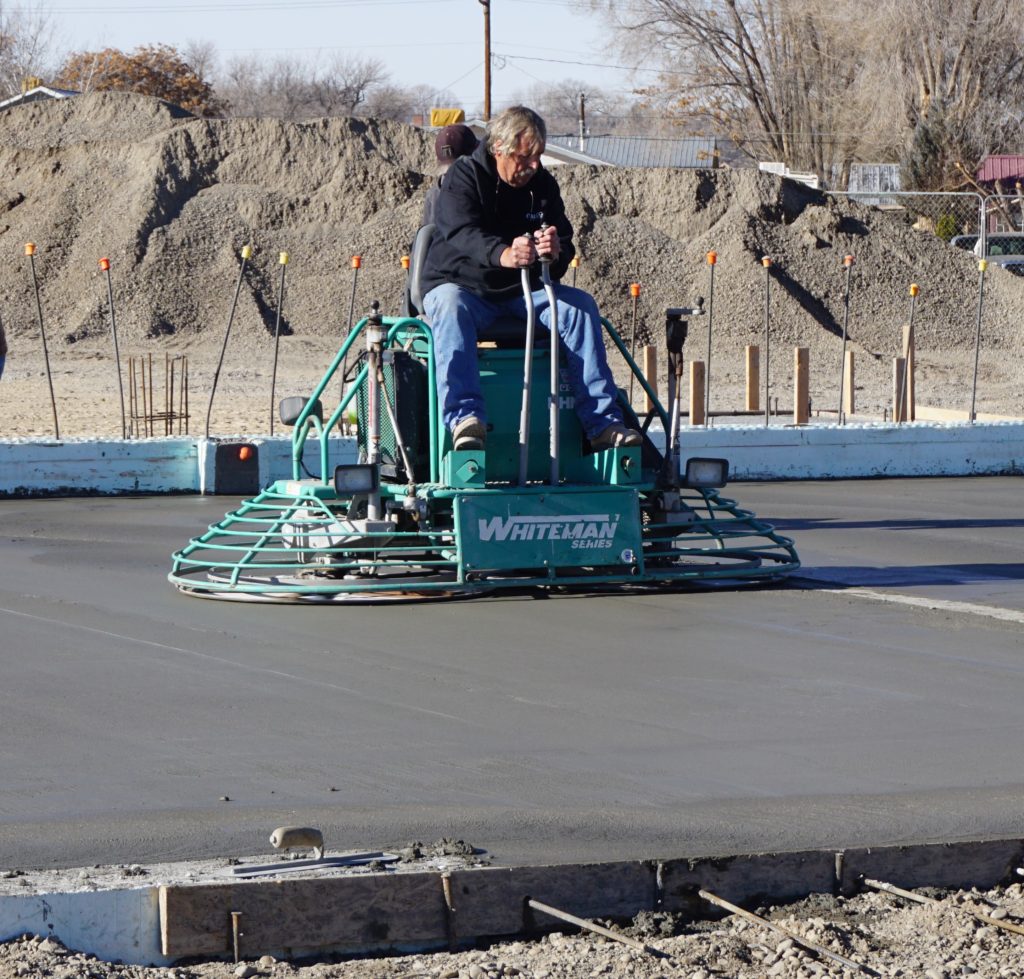
Step 5: Smooth the concrete.

Step 6: Saw cut the concrete to create joints.
Saw cutting creates intentional cracks approximately every 15 feet in the concrete to allow the concrete to contract without breaking and shifting.